My design and build of a Jenbach JW15 in 16mm scale (1:19). This model was the first attempt on a locomotive I’ve made and also the first print that I actually consider as completed, I’ve even got it painted! Here are a few notes on the design and what I found along the way.
I started this design with only my second hand Wanhao D3 printer. It had a failed fan and the prints were often filled with streaks of burned filament, the spare fan was on backorder. With the goal to print as good as possible I found that instead of going for large prints, it is better to print each part as ”flat” as possible. Tall prints were wobbly and misalignment of layers frequent. Following that experience, the design is made in several flat parts that to be glued together.
Then I got a bit fed up with the fiddly printing process, I also realized that many were printing successfully with only occasional bed leveling and calibrations. The thought of maybe buying a new printer started to grow in my mind. I looked at the (then) new Prusa and was close to buy one when a friend hinted about the Ender 3. Suddenly I saw ”Ender 3” all over the place, seemed to be a good printer for the price. An easy decision, I put a Ender 3 Pro that was on sale in the basket and… got other things on my mind… for a while… Then I remembered and logged in to the store and there a new Ender 3 was listed, the MAX. It was about 50% more expensive than the one I had decided for. However, looking at the build volume of the MAX and realizing that a couple of my ”wannado” projects, that had to be split in three sections, now could be printed in two closed the deal. I now have an Ender 3 MAX and the prints, afters some calibration, are excellent!
With my new printer, all issues with burned streaks were gone! And after some calibration I could get much higher quality prints than before. And, best of all, I could actually print tall prints without that much distortion! Still, I think the ”flat print principle” is the way forward to get good prints. I’m not that keen to try these ”all in one” prints, a failure towards the end would fail the complete print. I’ll stick to my ”part printing”.
The first print in the new printer came out excellent! I could reduce the number of parts a bit and some of the problematic prints that were up for redesign were suddenly printable as they were. I love the new printer…
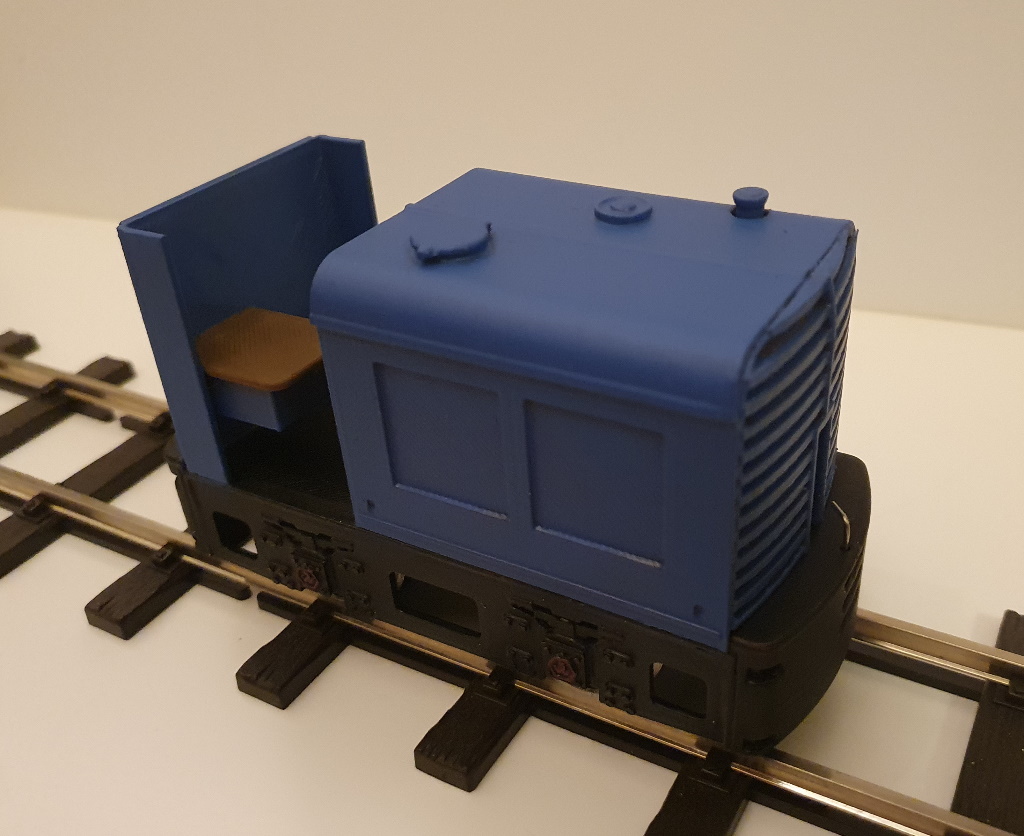
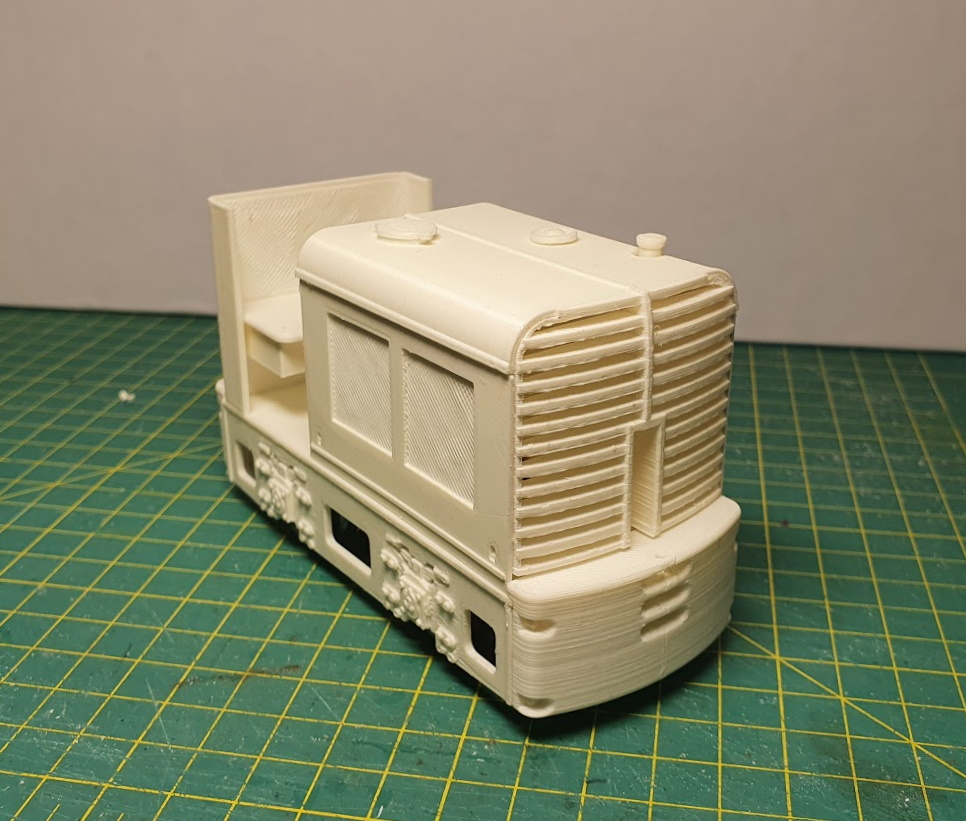
The basic plan is an easy print that can easily be assembled and does not really need any, or very little, post-processing. On the blue loco at the top, I have cleaned up the parts a bit, but that is all. Only built and painted.
Before reaching the final design, there are a number of test prints to make. I’ve spent many prints to get the parts as I like and to fit as expected. There are still some minor inconsistencies but, they are hardly noticeable. Picture below shows the final model with all test prints I made to get it all right.

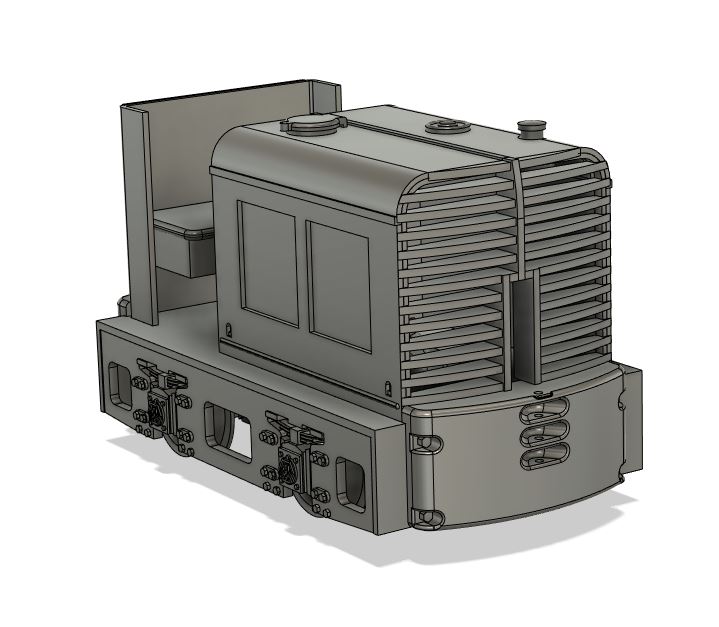
The model use an IP Engineering chassis that should be a simple drop-in location in the frames. The front end of the chassis is held by a M3x12 mm screw that also holds the battery tray. The battery tray is slightly offset to be able to fit a LocoRemote Mini B receiver to the side. Both the LR and Battery pack is lightly held in place by short strips of Velcro.
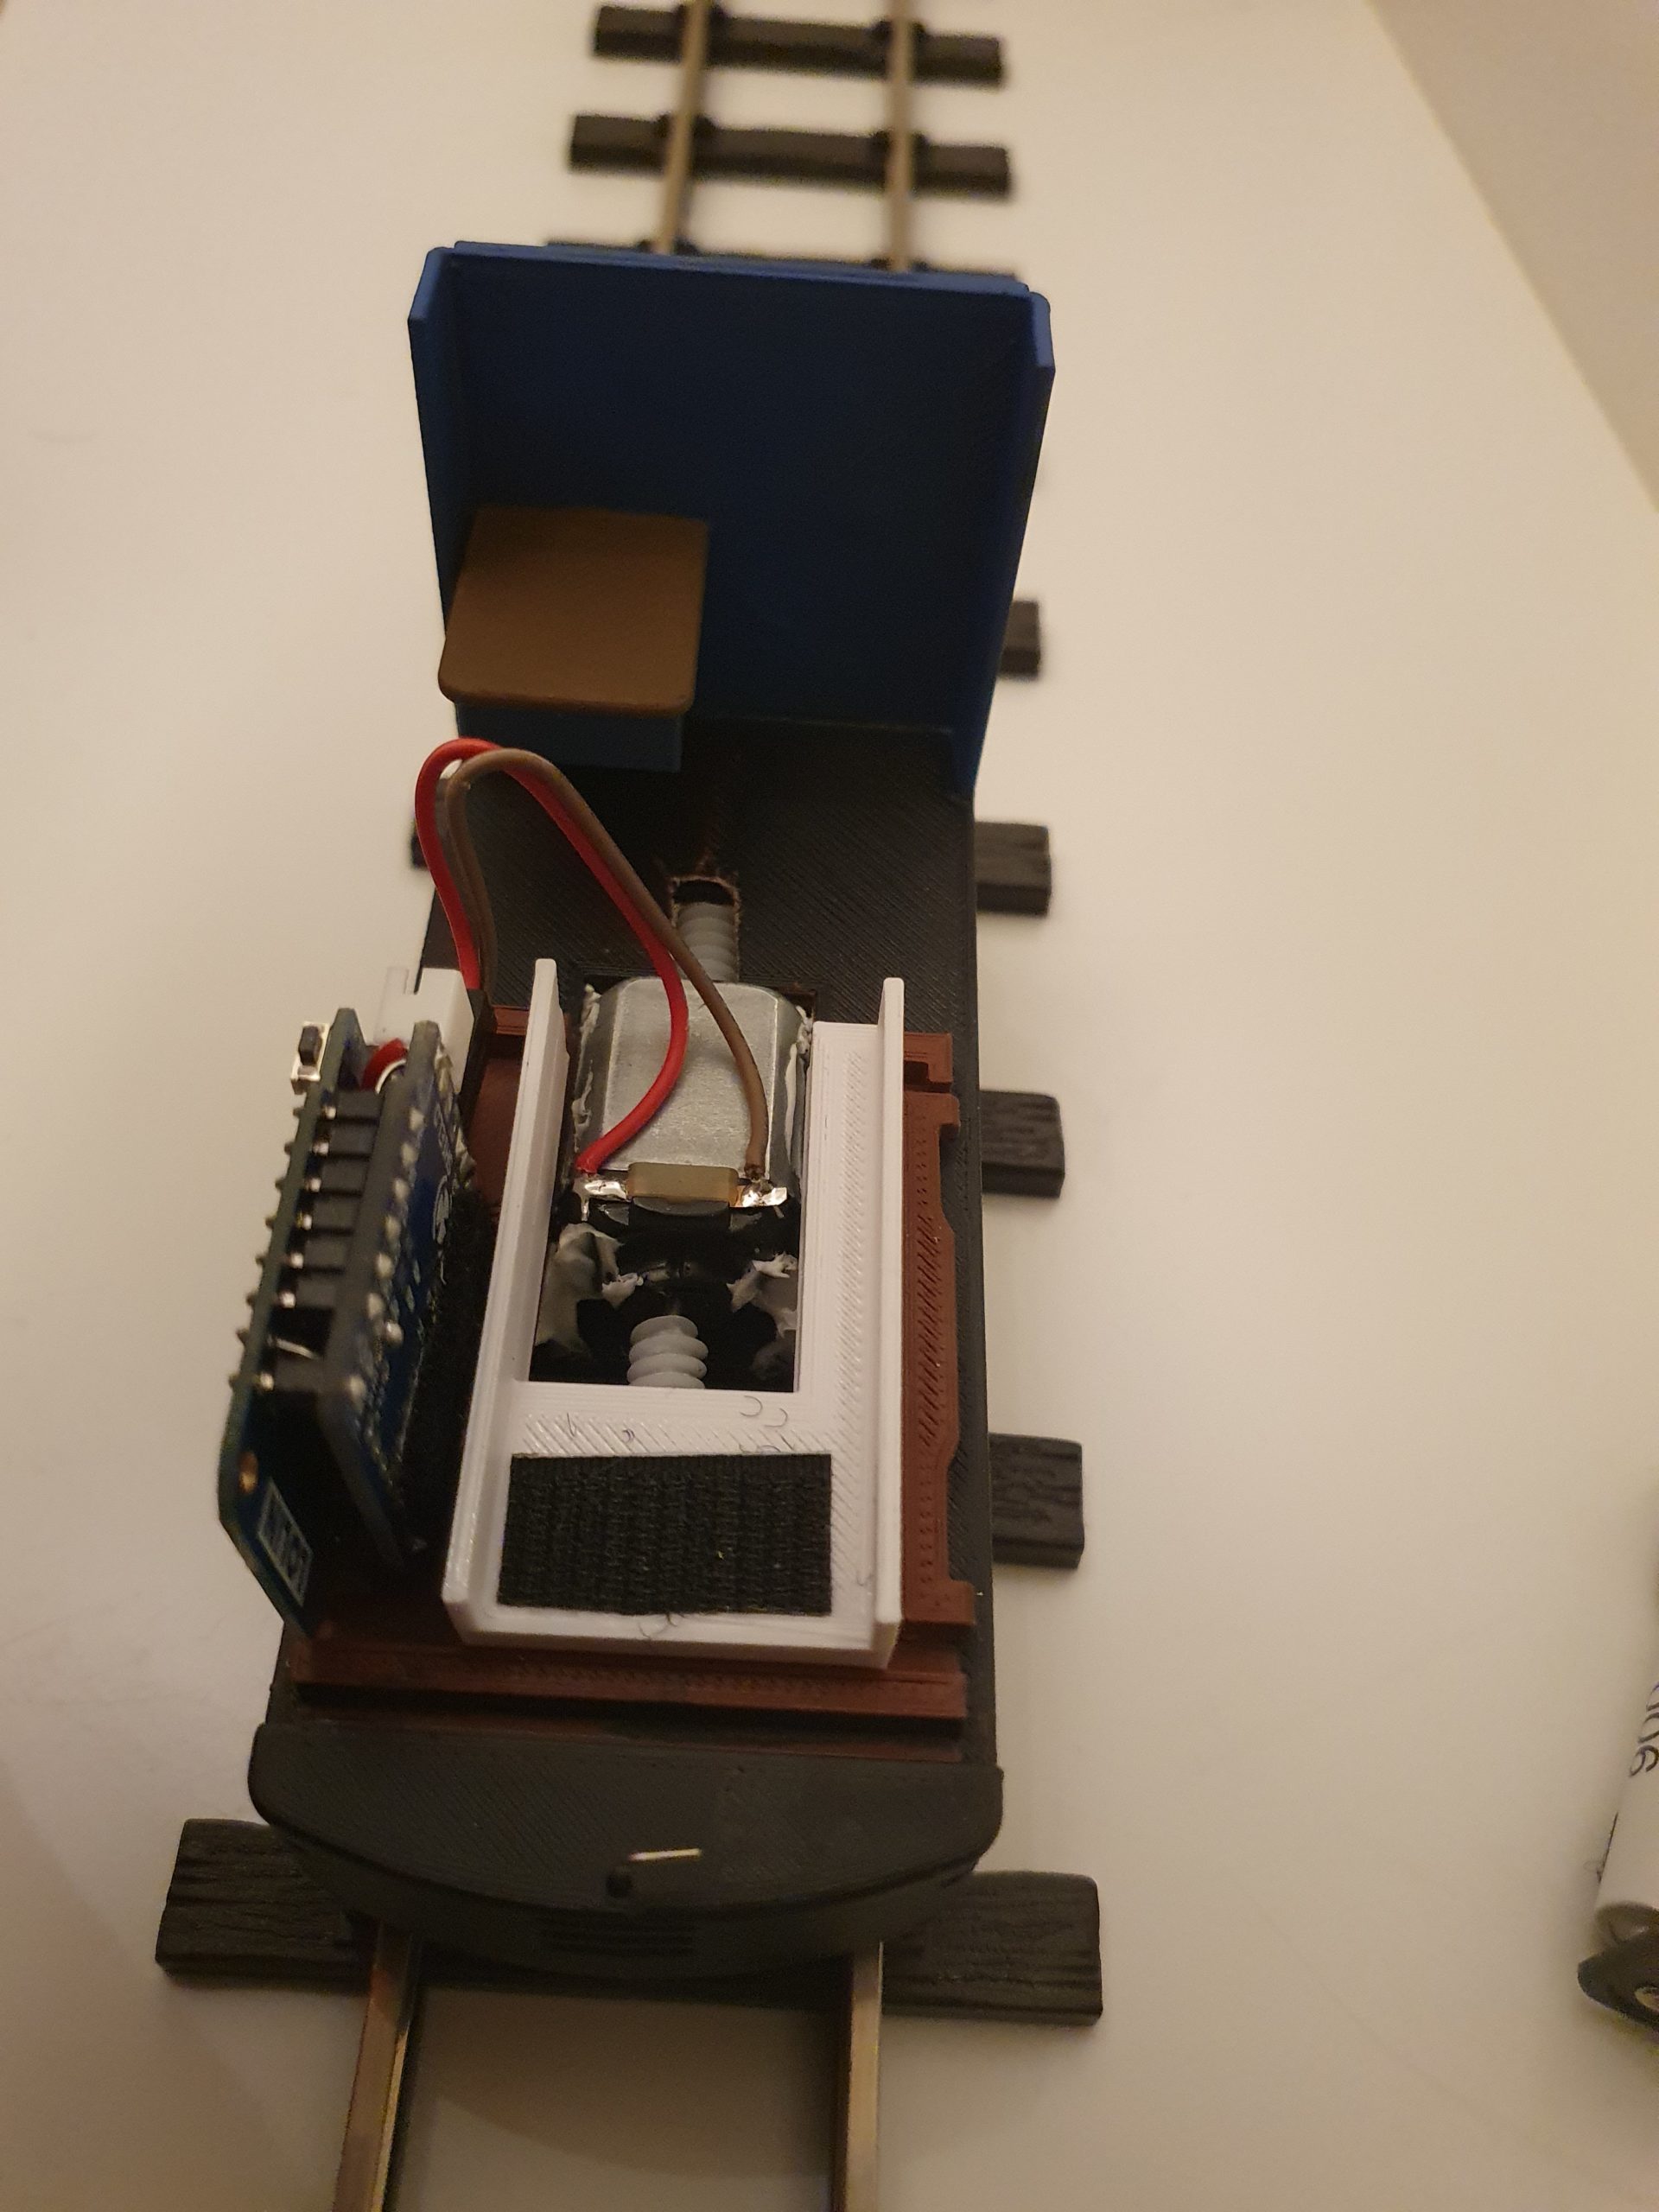
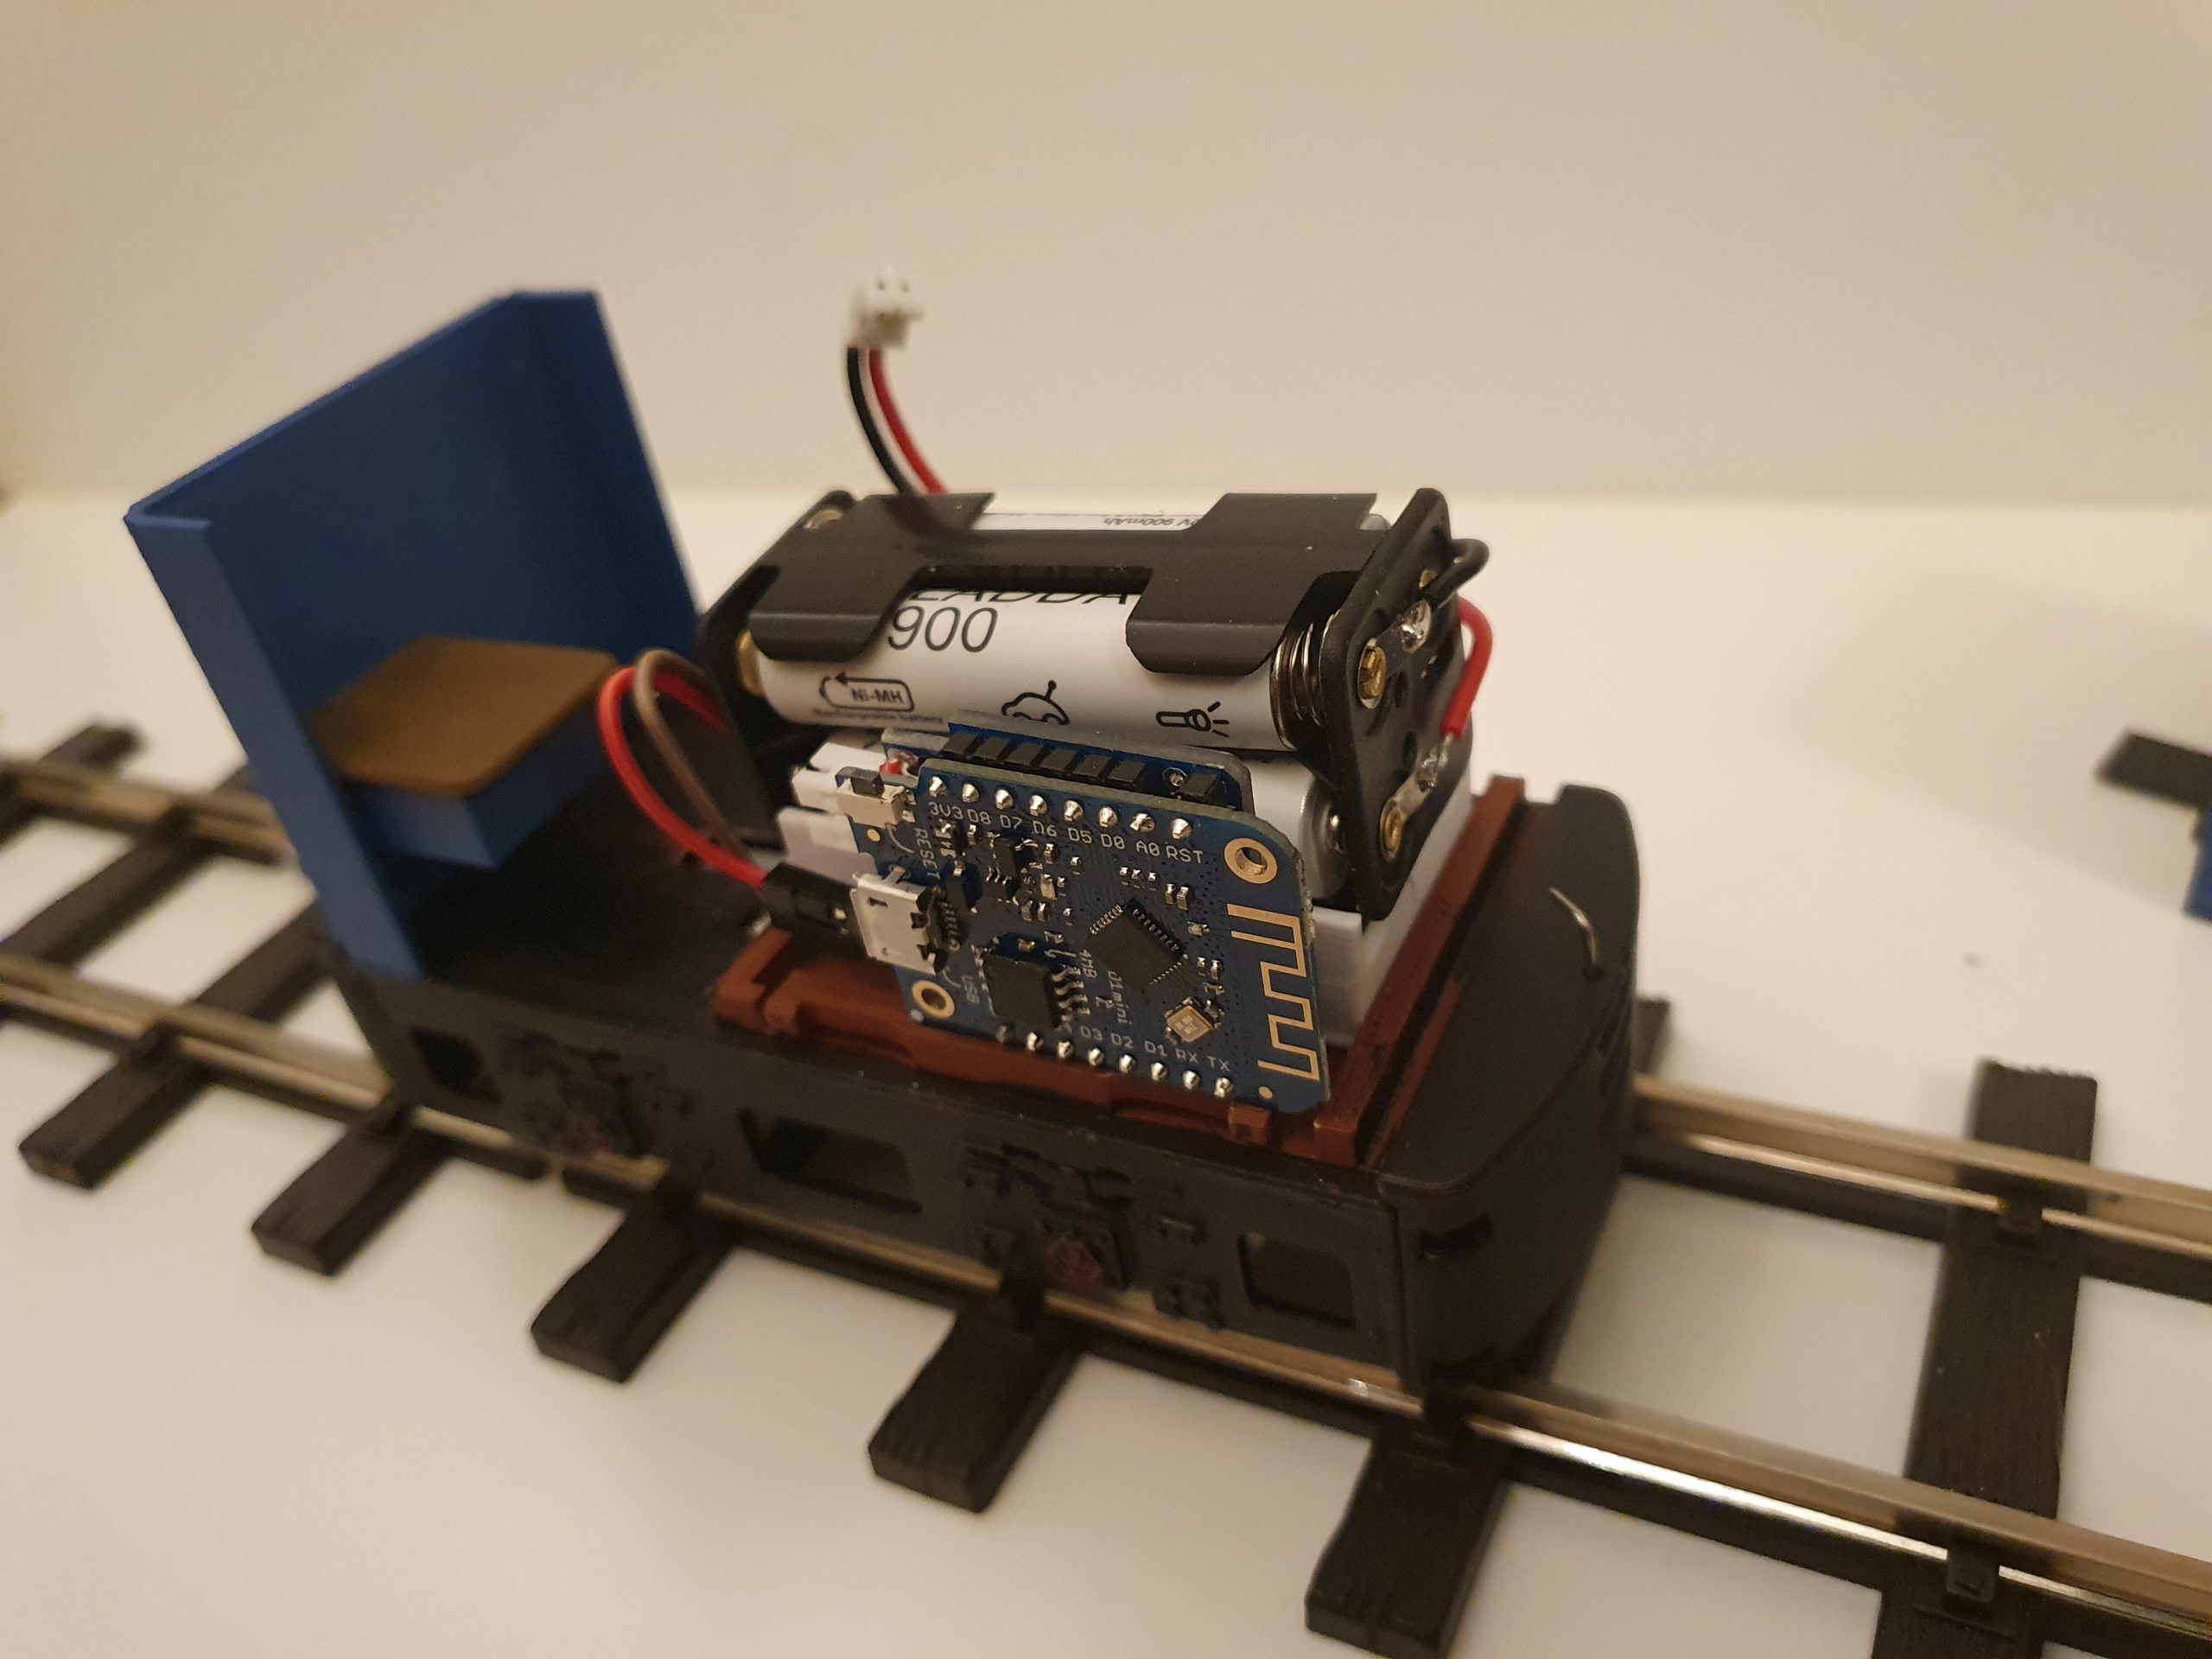
It fits, but it is tight. I need to fine tune the wiring lengths to get a good fit of the hood, currently there is always a wire in the way when the hood is to be closed. I have no power switch, not enough space, but I will possibly look into fitting some kind of switch into the loco, or just fix the battery leads with a connector below the frames, could possibly ease recharging the batteries if I don’t need to remove them each time.
The model is for 32 mm gauge, but I have seen a similar loco that was for 750/891 mm gauge. A quick request in a Facebook group soon gave me some pictures of that loco. And as I remembered, the loco is more or less the same but the frames are wider. I followed the same principle and have also drawn a chassis that should be suitable for 45 mm gauge. Same scale but a wider chassis. I have not built with, or even printed, the 45 mm gauge frame but it should work, it’s the same design, just 13 mm wider.
There it is, this is my first really completed design and I enjoyed it, great fun to design and have instant feedback from prints on your own printer! The detail level and accuracy is not what Iäm used to but the fun is way over the top! So there are a number of projects in line to be realized. However, I tend to work in periods, I get bored and need to do something else for a while. But the 3D print stuff is still fun and I will not stop yet!
The designs can be downloaded as STL files from my Thingiverse account!
Happy printing and please, send me a picture if you build a model!